
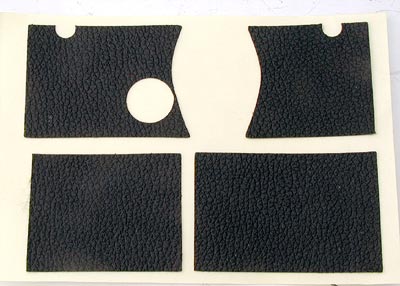
How to replace the covering for Olympus OM-1/OM-2
Please prepare following items.
 |
 |
||
| It is easy to remove the original OM skin,
but if it is sticky, you can pour a little
alcohol into the adhesive like the photo
above. |
|||
|
|
|||
 |
 |
||
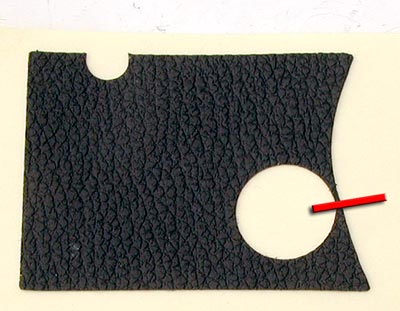
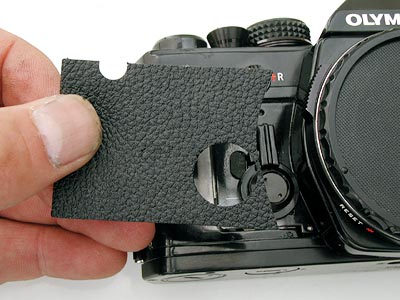
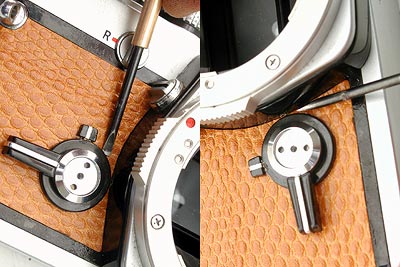
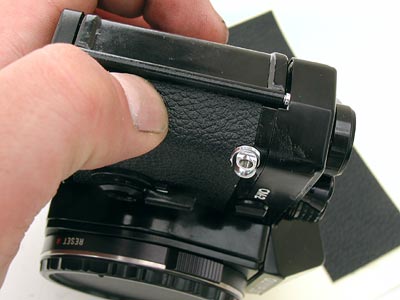
1. The difficult part is installing selftimer part. But You do not need to take out selftimer. |
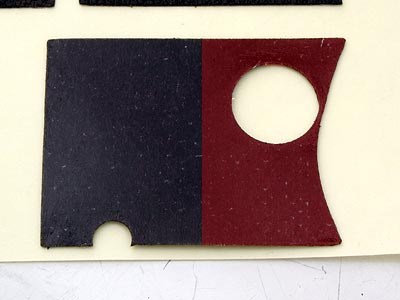
2. Cut the red line. |
||
 |
 |
||
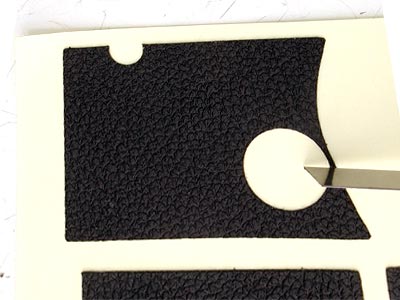
3. |
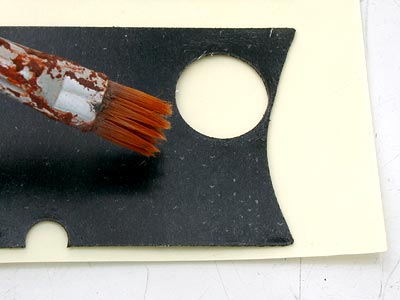
4. Reverse the covering and rub alcohol with paint brush. |
||
 |
 |
||
5. You can rub alcohol only red part. Do not rub other part. |
5. start applying. |
||
 |
 |
||
7. Slide the covering under the selftimer from 1 to 2. Å@The alcohol delays the adhesion and allows you time to position and adjust the skin before alcohol gets dry. |
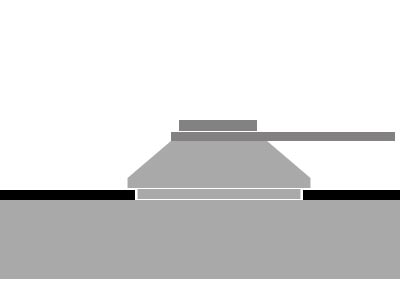
This is cross-section of selftimer. Black
part is skin. |
||
 |
 |
||
8.You can use small flathead screwdriver to adjust the narrow part. Please do it while alcohol wet. |
8.Press the edge with your nails. | ||
 |
|||
15. Done. Other parts is not difficult, just apply the coveings along the edge. |
|||