
Zorki-4/Zorki-4K Custom covering kit quick installation guide.

Zorki-4/Zorki-4K Custom covering kit quick installation guide.
 |
|
 |
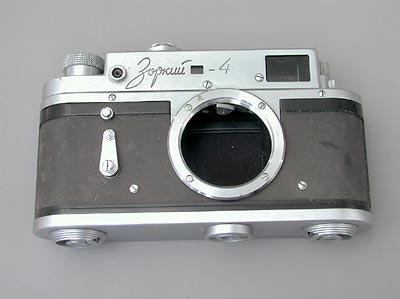
1. Remove the original leatherette and residue on its surface, then clean up the surface very well. |
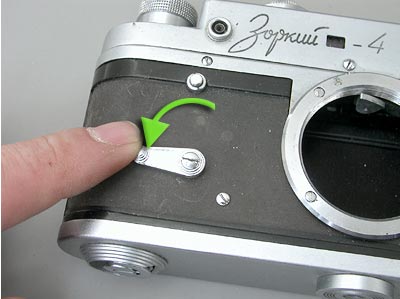
2. Turn the selftimer lever for 90 degree. |
|
 |
|
 |
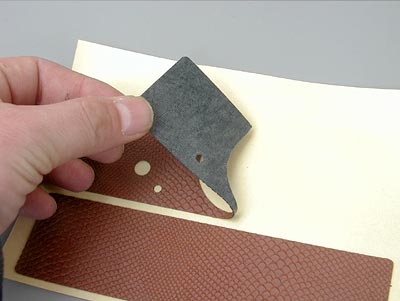
3. Take out the new leatherette from the base paper and reverse. |
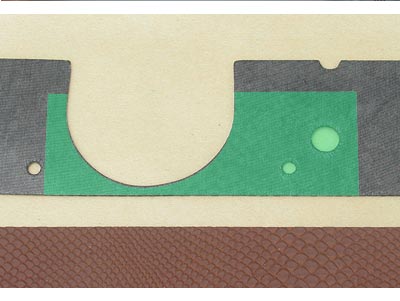
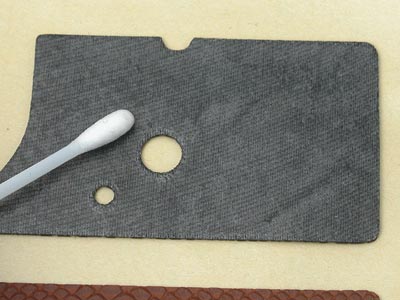
4. Now you are facing on the adhesion side and rub the alcohol (recommended) or water on the green halftone portion as above photo. |
|
 |
|
 |
5. Use cotton swab or paint brush rubbing alcohol or water. The alcohol or water delays adhesion and allows you time to adjust or position the leatherette. |
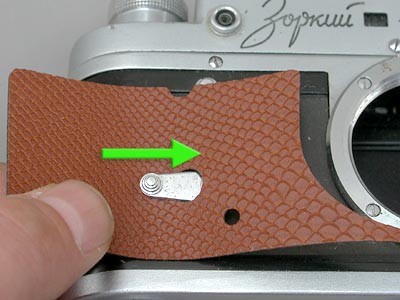
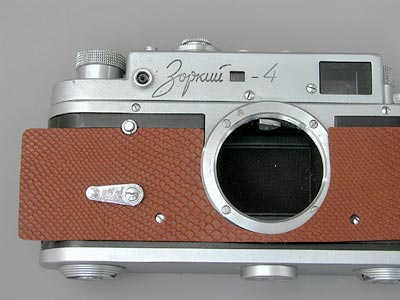
6. Slide the leatherette under the selftimer lever. |
|
 |
|
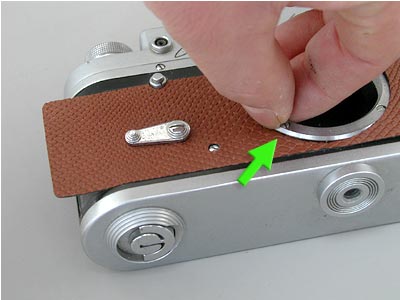 |
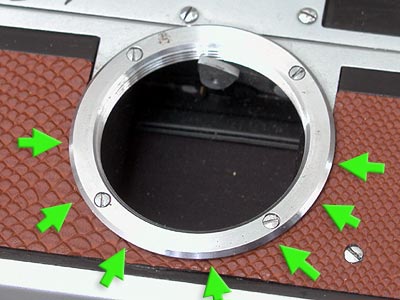
7. You can use your nails or flat head screwdriver and squeeze the leatherette under the Lens mount. |
||
 |
|
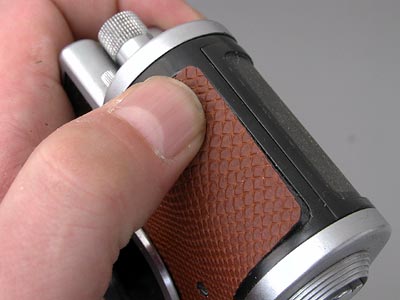 |
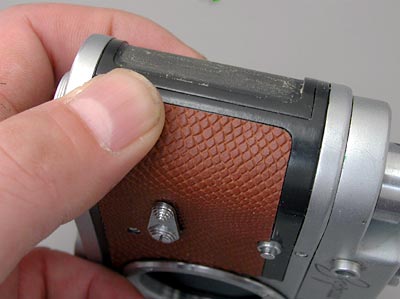
8. You do not have to stretch the leatherette, it naturally comes to the edge. |
||
 |
|
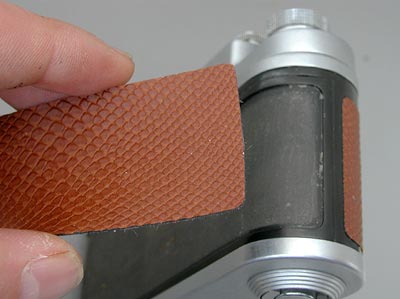 |
9. Then apply the other side. |
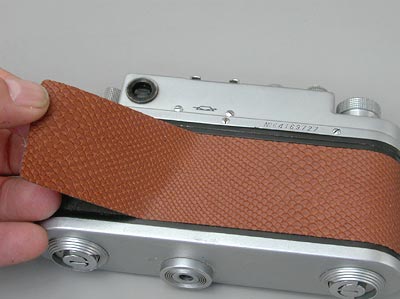
10. Start to apply the rear side leatherette from the edge. |
|
 |
|
 |
11. apply the leatherette along the upper and lower edges. Do not stretch the leatherette. |
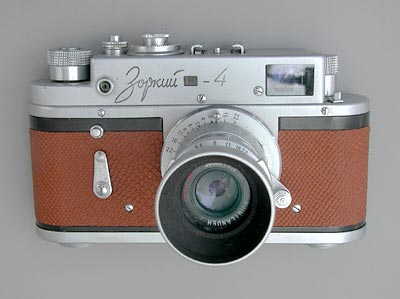
12. Finished. Wait until the alcohol or water get dry. | |