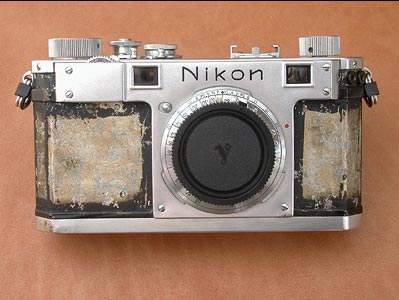
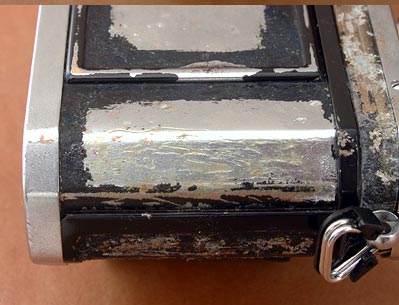
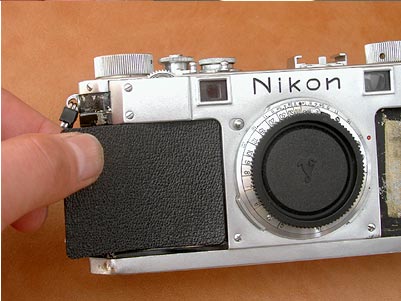
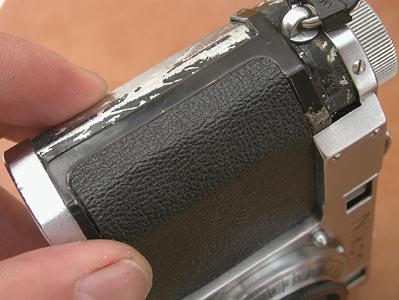
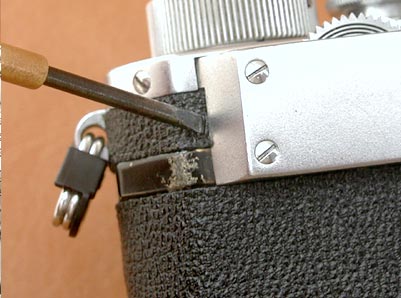
1. Remove the original leatherette and clean up the surface.
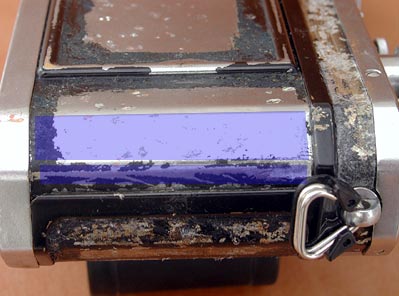
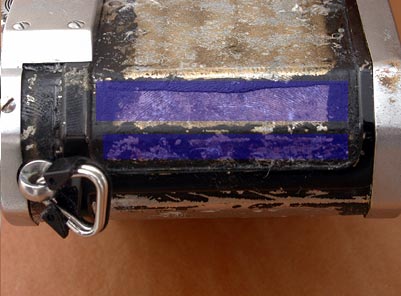
2. If you have Rubber cement (you can get DIY shop), you could rub rubber cement on blue half-tone portions above photos for strengthen them. You will get better result.
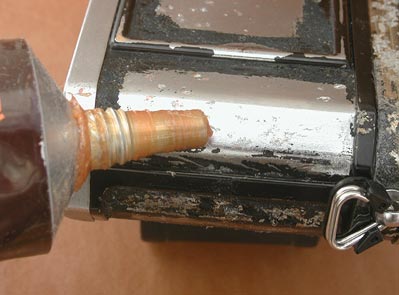
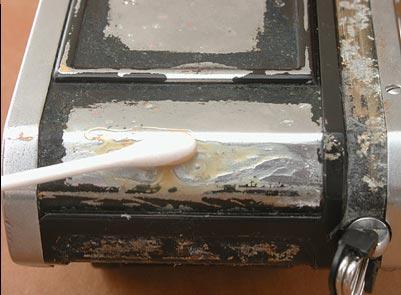
3. Rub rubber cement on edge portions and dry it well.
4. When you use rubber cement, dry it 5 to 10 minutes then apply.
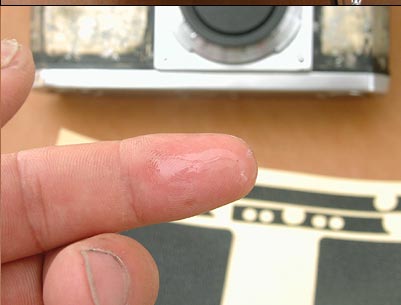
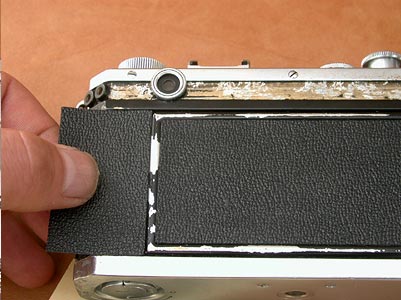
5. Start applying the new covering. You can dip a little water on your finger then the work will be easier.
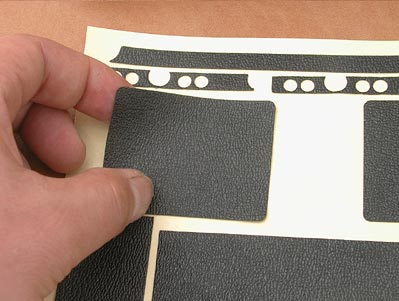
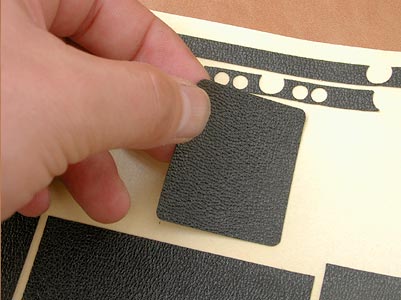
6. Remove the new leatherette from the base paper.
7. Apply the leatherette onto the camera body from the edge.
8. You do not need to stretch the leatherette.
9. The next part, the same process.
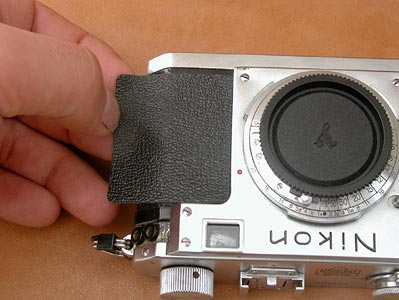
10. Apply the leatherette to appropriate place.
11. There is not any special technic for applying the backdoor parts.
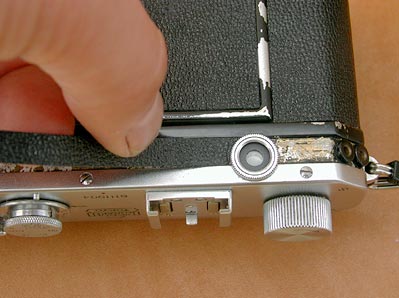
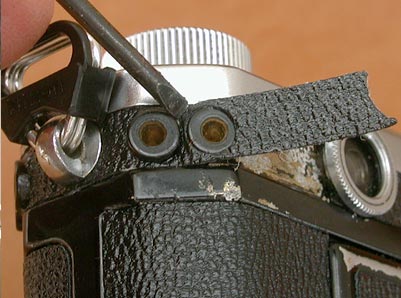
12. Squeeze the leatherette under the finder's eye contact part, then apply along the edge.
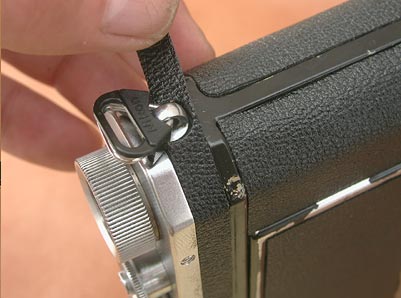
13. Apply along the strap lug part.
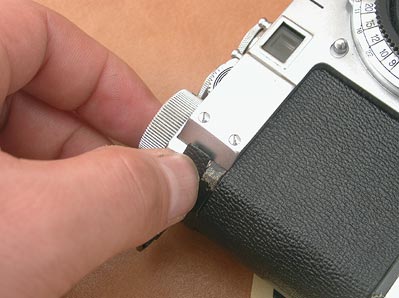
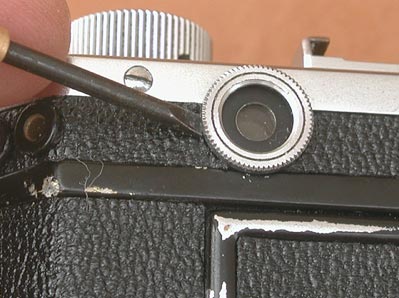
14. Then it comes the edge near the face mask.
15. Use a small flathead screw driver, squeeze the leatherette under the front face mask.
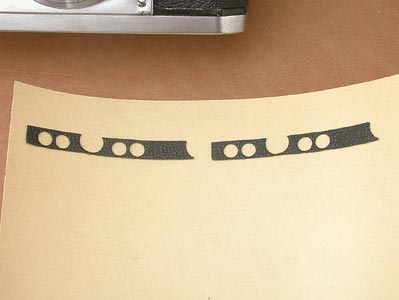
16. This is a difficult part. You can find 2 pcs. Actually these 2 are same shape leatherettes, One is for fale safe.
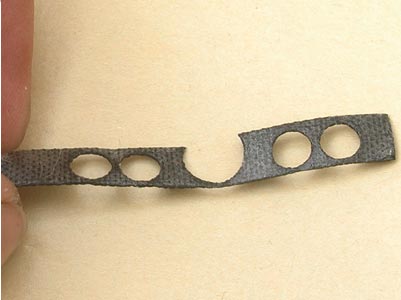
17. Remove the leatherette from the base paper and reverse it.
18. Rub alcohol or water on the tape side (sticky/adhesion side).
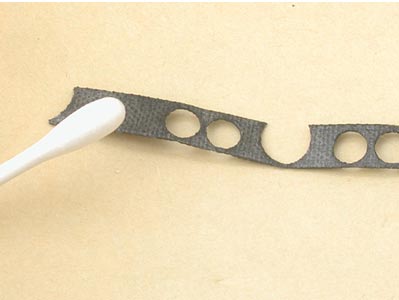
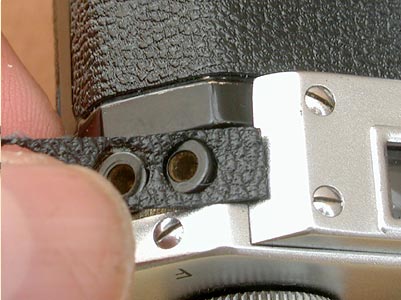
19. Start applying, fit the holes to the correct places.
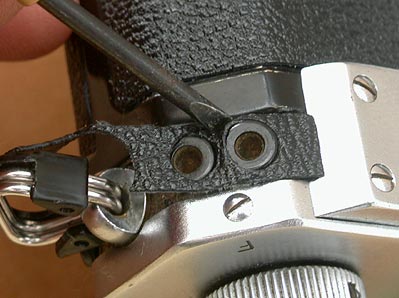
20. Use small flathead screwdriver and squeeze the leatherette onto the narrow portions.

21. Squeeze under the finder's eye contact part.