Mamiya RB-67 Body & 120 Filmback Light Seals Replace Kit
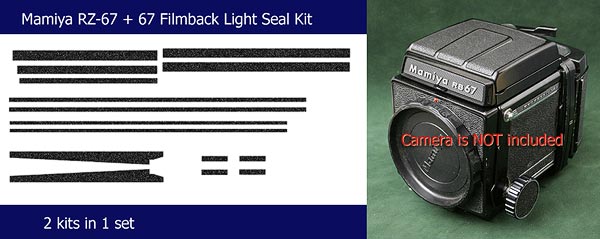
This is a custom replacement kit for the Mamiya RB-67 camera body and 6x7 film back's Light Seals foam (gasket sponge).
This kit also fits the Pro-S.
(Please note: This item is a custom kit, NOT a Mamiya brand-name part. The RB-67 camera body and 6x7 Film Holder are NOT included.)
When the original light seals become old, they can cause light leaks and backdoor rattling. By replacing them with new light seals, you will eliminate these problems.
These seals are already laser-cut to accurate sizes and are ready to use. 2 foam kits are included so you do not have to worry if you make a mistake on the first try.
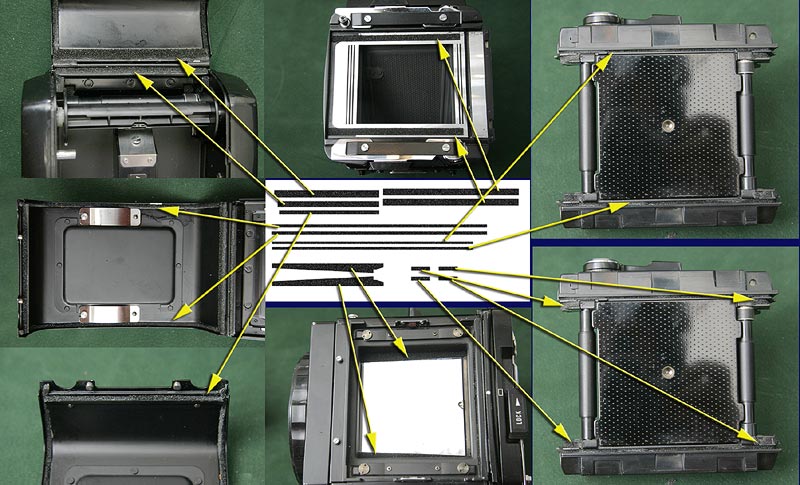
Coverage Details
This seal kit covers the Mamiya RB-67 camera body and 6x7 film back as shown below:
Click image to enlarge
Includes revolving back foam (front)
Includes revolving back foam (rear)
Important Warnings
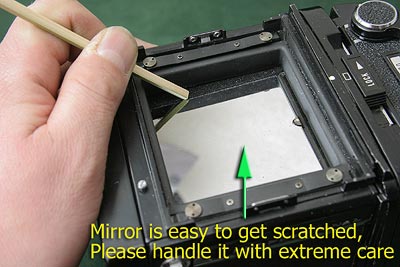
Since the mirror is easy to get scratched, please handle it with extreme care when you replace the mirror cushion sponge.
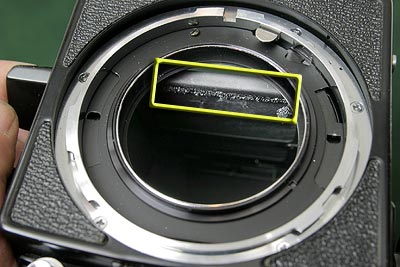
The flocked paper covers this part and is extremely easy to get torn. Therefore, this cushion sponge is NOT included in the kit.
Purchase Option
Mamiya RB-67 Light Seals Replace Kit
Shipping fee
Asia : $5.50 US (registered airmail)
Europe Oceania Middle East : $6.30 US (registered airmail)
USA : $7.20 US (registered airmail)
South America & Africa : $6.50 US (registered airmail)
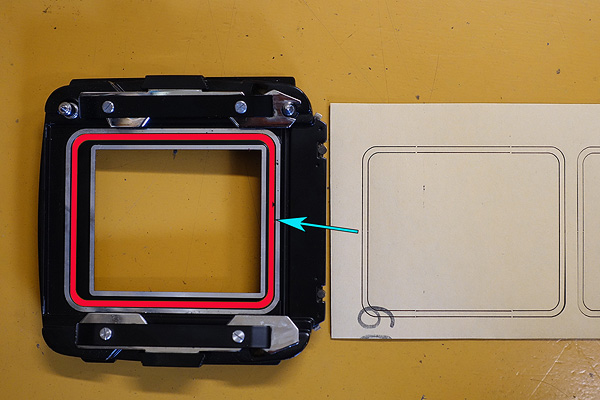
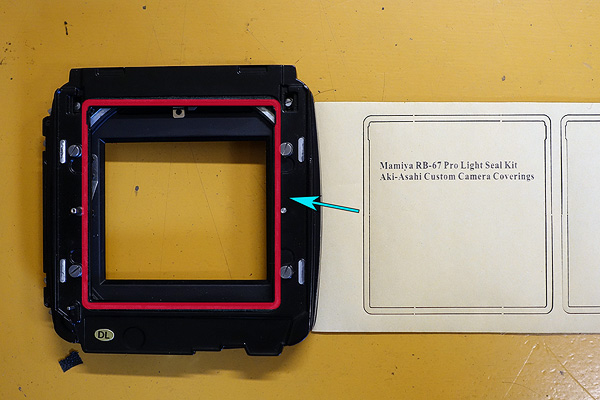
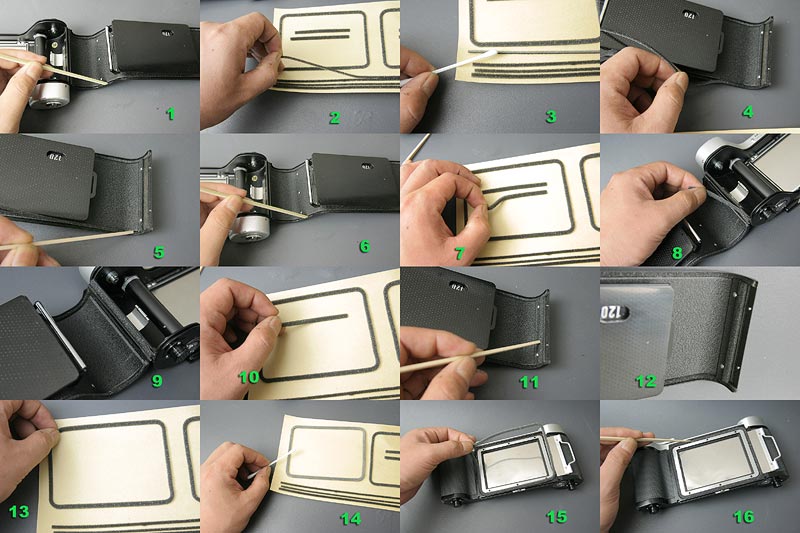
Installation Guide
- Remove the old light seals and clean up the residue with alcohol or benzine.
- Take out the new light seal from the base paper.
- Use a cotton swab or paint brush to rub alcohol or water on the adhesive (sticky) side. The alcohol or water delays adhesion and allows you time to position and adjust the seals.
- Place the seals into the groove.
- Use a flathead screwdriver to adjust the seals before the alcohol/water dries.
Click image to enlarge