How to install Leica M3 covering
For #4008 leatherette / Morocco Grain leather / General coverings

Remove the original vulcanite and clean the surface thoroughly.

Set the selftimer lever.

Peel the new covering from the backing paper.

Begin at the Finder Select Lever portion.

Align the leatherette using the screws and edges as a guide.
Do not press the leatherette onto the camera body yet.

Tuck the leatherette under the selftimer lever.

Align it around the screws and button edges.
Do not press it onto the camera body yet.

Tuck the leatherette under the rewind lever.

You do not need to stretch the leatherette; it will naturally align with the correct position.

Continue applying it along the edge until you reach the end.

Once properly aligned, firmly press the leatherette onto the camera body to adhere it.
You can use a small screwdriver for narrow areas.

Use a flathead screwdriver as shown in the photo.
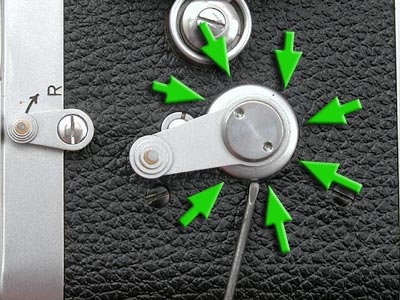
Around the selftimer, you can tuck the leatherette underneath the lever using a flathead screwdriver.

Firmly press the entire leatherette onto the camera body with your hands.
And you're finished!