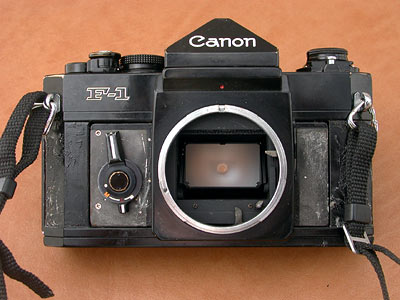
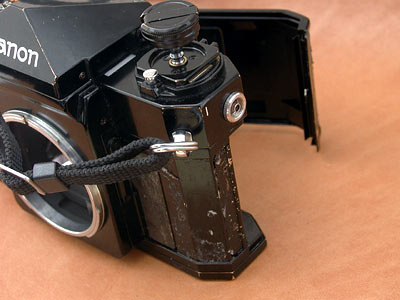
1. Remove all of the original covering and clean up very well.
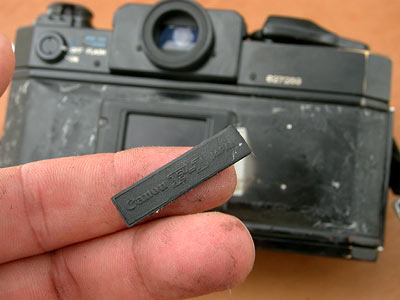
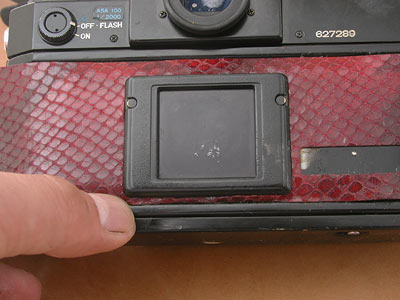
2. You can remove the logo plate on the rear door very easily. Do not lose it.
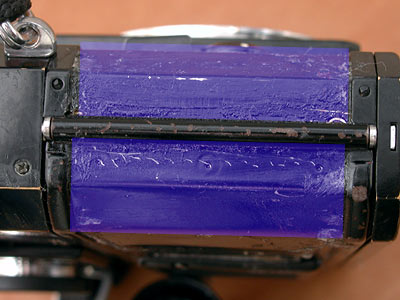
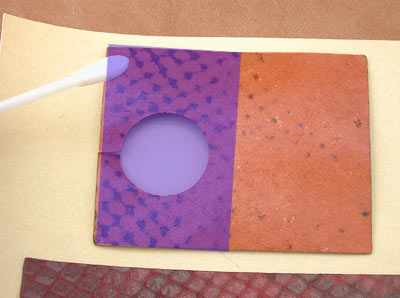
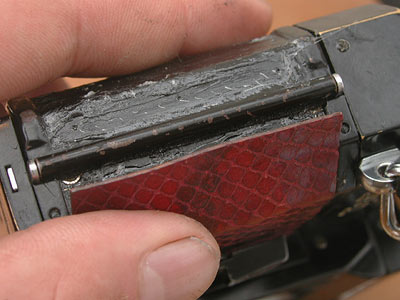
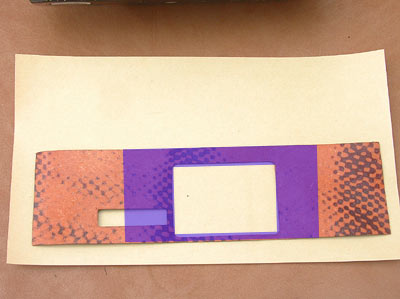
3. Strengthen the edge portions (halftone portions of the photo above) with rubber cement (rubber bond). You can get it on the DIY shop.
4. Rub rubber cement on the edge portions.
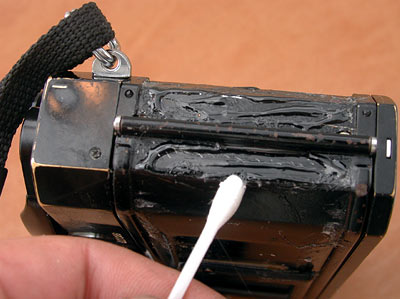
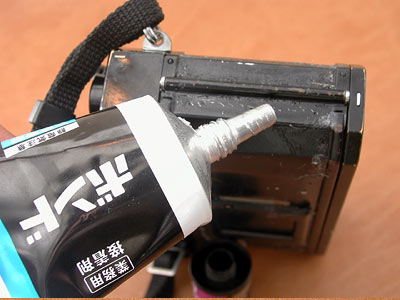
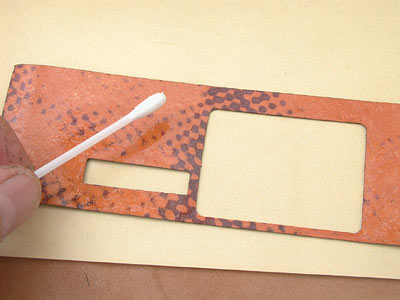
5. Apply the rubber cement thinly with cotton swab and dry it well, 3 to 5 minites or more.
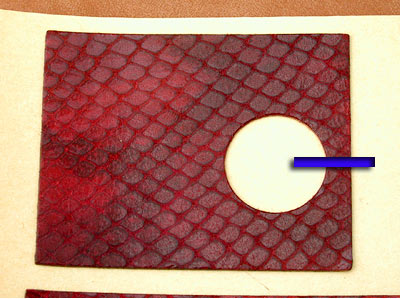
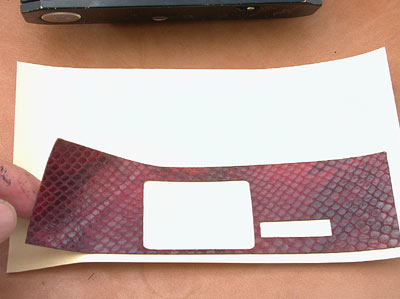
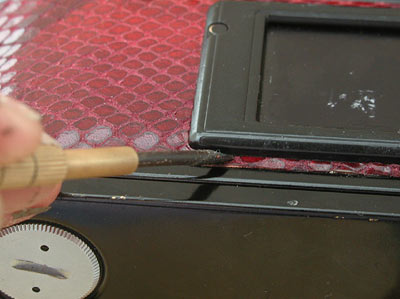
6. You need to cut one portion by yourself like above photo.
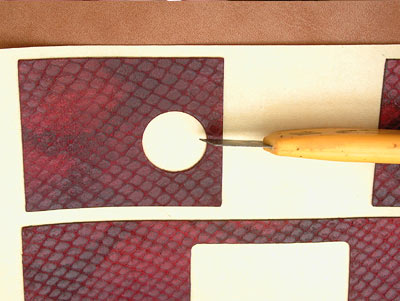
7. You could cut with knife.
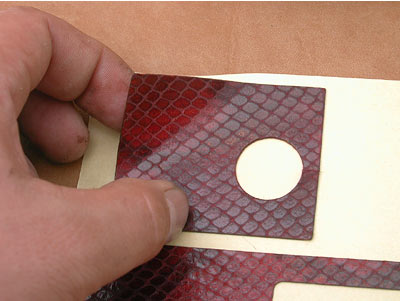
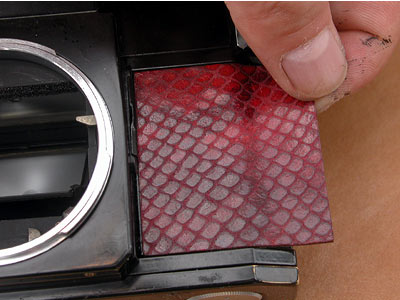
8. remove the new covering from the base paper.
9. Reverse the covering and you are facing on the adhesion side. Then rub alcohol on the halftone portion with cotton swab.
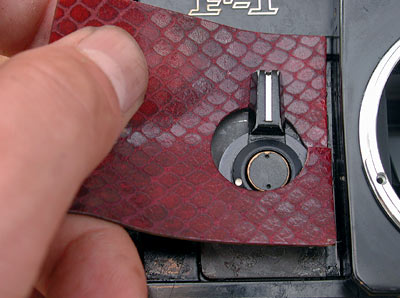
10. Start applying the front-left part. First slide under the selftimer lever. Please do it before the alcohol get dry.
The alcohol delays the adhesion and allows you time to position and adjust the covering.
11. squeeze the covering under the selftimer bottom part.
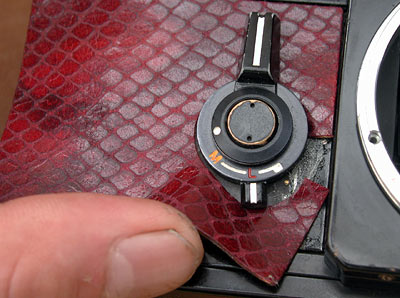
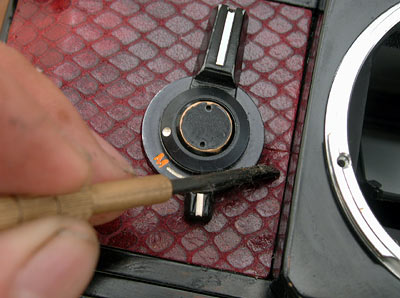
12. Adjust the covering with small flat head screw driver for the narrow portion.
13. apply the covering along the edge.

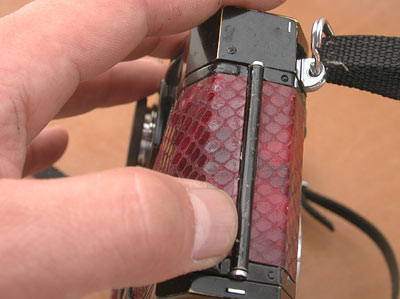
15. The front-right covering is not difficult to apply.
16. Backdoor covering is a little difficult to apply. Please do it carefully.
Remove the covering from the base paper and reverse.
17. Rub alcohol on the halftone portion.
18. Rub alcohole on the adhesion side with cotton swab.
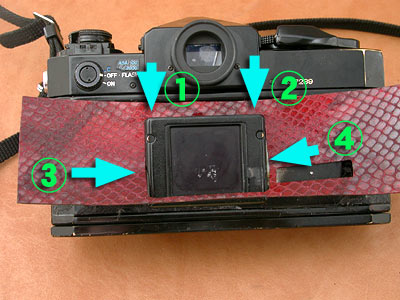
19. Squeeze the covering under the film reminder pocket, from 1 to 4 orders like the above photo. Please do it before the alcohol get dry.
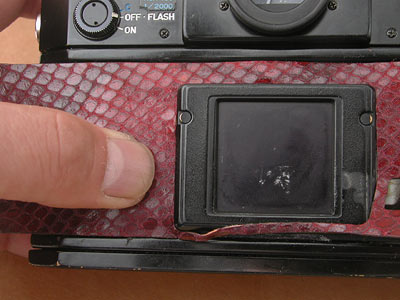
20. Squeeze the covering under the film reminder pocket with your finger or flathead screw driver.
21. Then it comes to the botton part of the film reminder pocket.
22. squeeze the covering under the film reminder pocket's bottom part with flathead screw driver.
23. after you finish to position the film reminder, apply the whole covering along the edge.
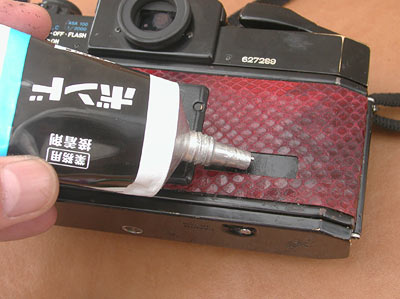

24. apply the rubber cement on the logo plate portion and dry it well.
25. You need to apply the rubber cement on the logo plate, too.
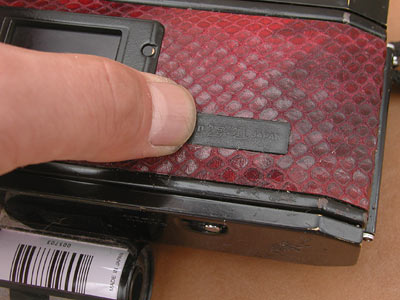
26. Stick the logo plate on the camera body.