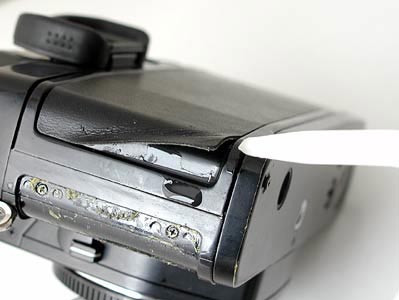
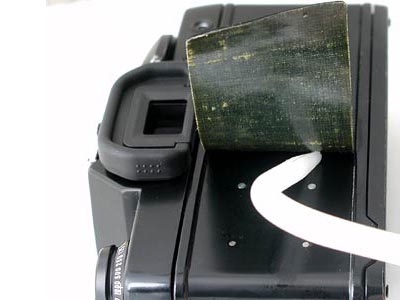
1. Remove the Original covering. If it is sticky, you could dip a little alcohol.
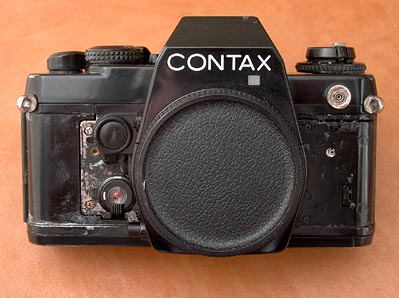
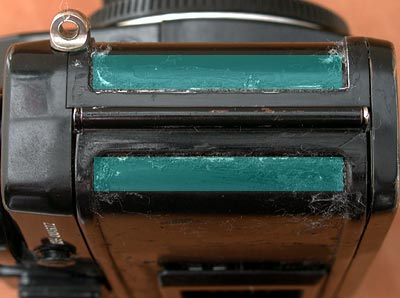
2. Strip whole original covering and clean up the surface with alcohol.
3. I strongly reccomend to use Rubber cement (you can find at DIY shop) for strengthen the edges (half-tone portions above photo). then you will get better result.
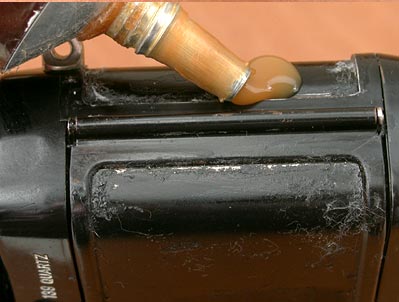
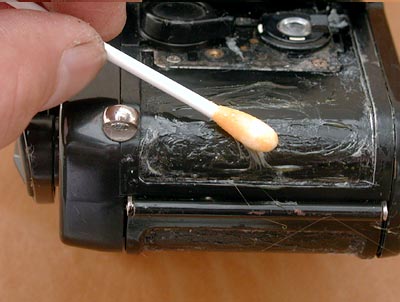
4. Rub rubber cement, this is bad example. You do not need so much.
5. Rub rubber cement thinly and dry it well.
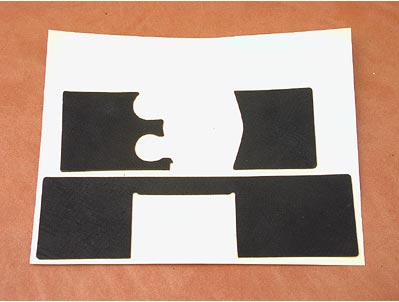
6. Start to install the new covering.
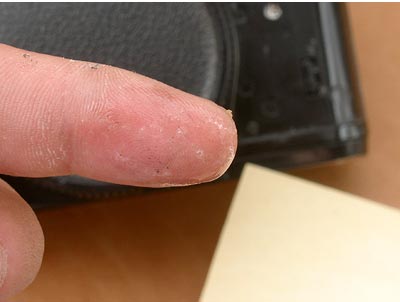
7. You could dip a little alcohol or water on your finger, the work will be easier.
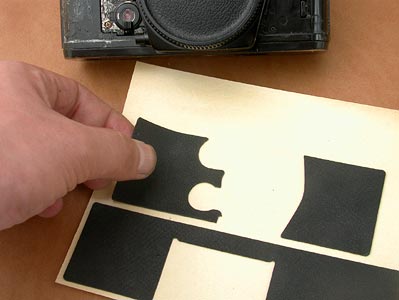
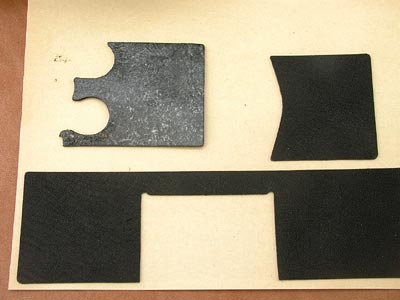
8. Remove the covering from the base paper.
9. Reverse the covering. You are facing the adhesion side.
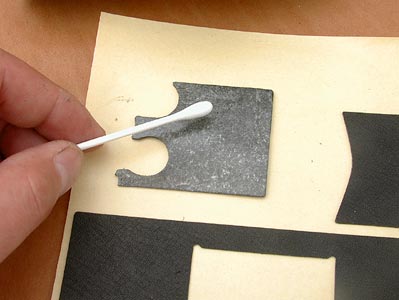
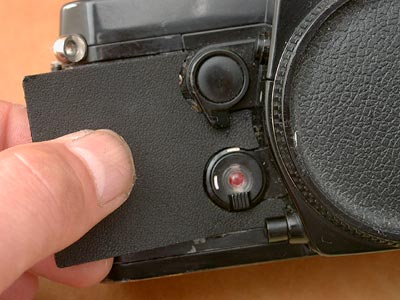
10. Rub alcohol on the adhesion side.
11. Place the covering on the body before alcohol get dry.
The alcohol delays the adhesion and allows you time to position and adjust the skin, before alcohol gets dry
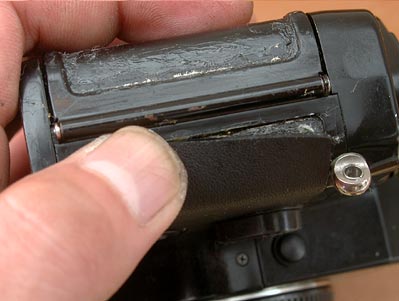
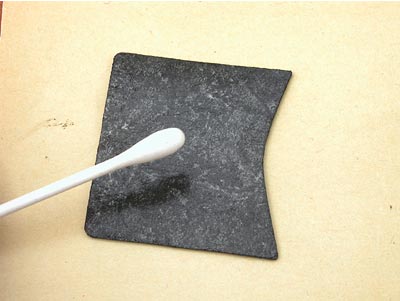
12. Apply the edge part.
13. The next part, it is the same process. Rub the alcohol on adhesion side.
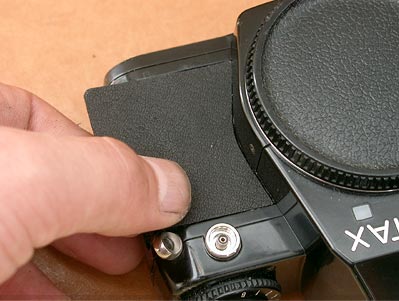
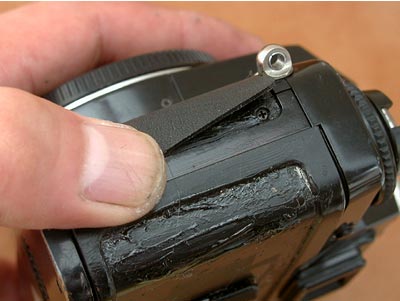
14. Apply covering on the camera.
15. Apply the edge part. You do not need to stretch the covering.
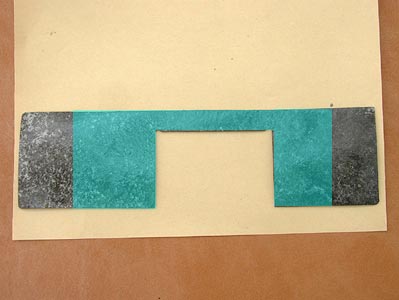
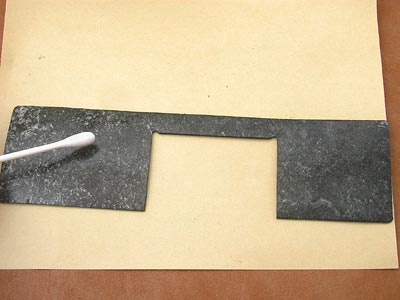
16. As for the backdoor part, you could rub the alcohol on half-tone portion like above photo.
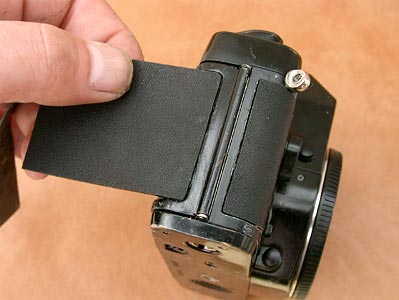
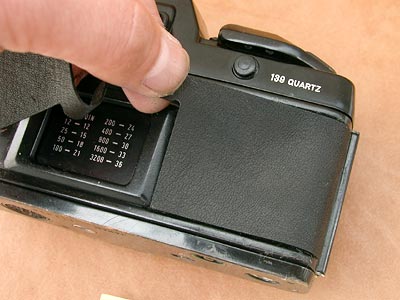
17. Apply backdoor covering from the edge.
18. Do not stretch the covering.
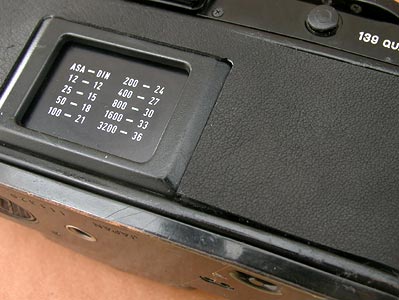
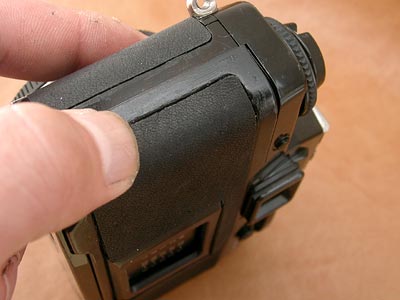
19. Leave around the film reminder portion, you will apply later.
20. Apply the edge.
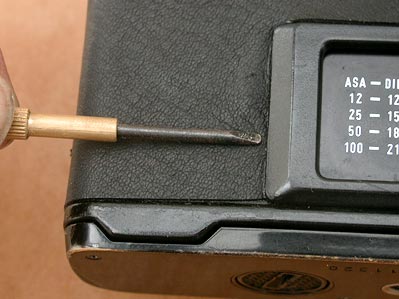

21. Then start to fix the film reminder portion.
Use small flathead screwdriver and squeeze the covering under the film reminder.
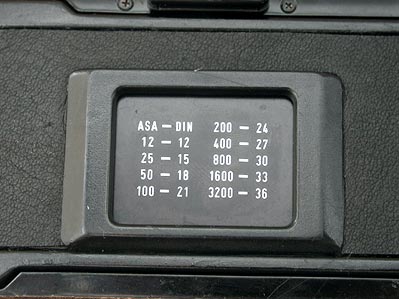
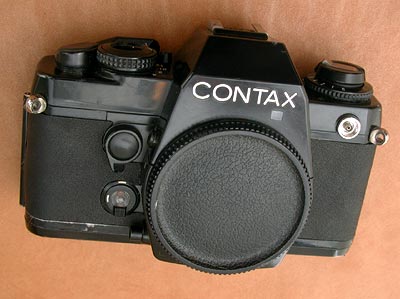
22. Finished.
Please wait until the alcohol get dry.