
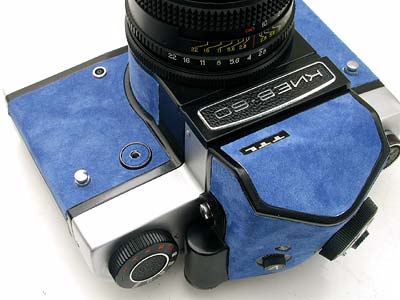
Install Kiev-60TTL Covering (glued covering).
Please prepare following items.
 |
 |
||
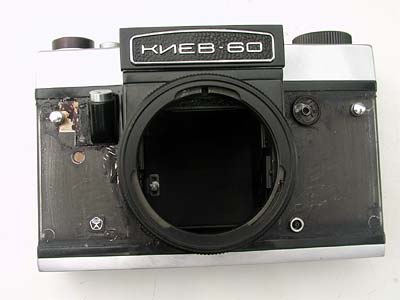
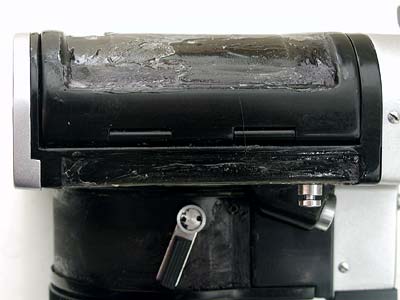
Remove all of the original coverings, remaining old adhesives, then clean up its surface. |
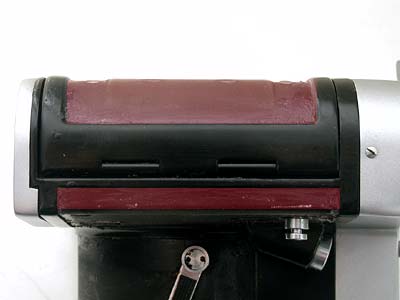
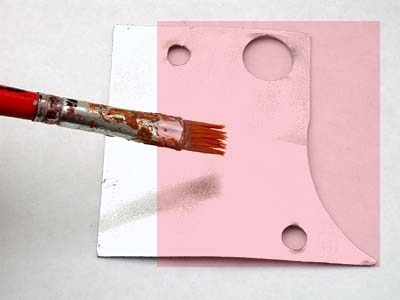
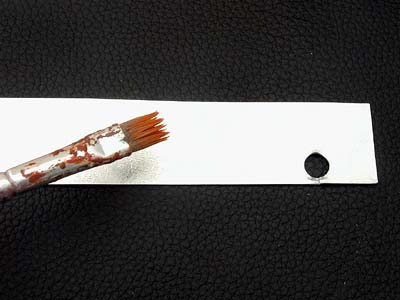
Although the custom coverings are glued on the backside of covering, I reccomend you to rub bond on edge portions for strengthen adhesion. Just rub bond on red portions. |
||
 |
 |
||
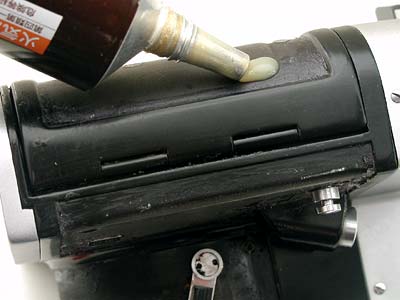
I am not sure what kind of bonds are available in your place, please use Rubber Cement type. |
Rub bond on the edge portions. |
||
 |
 |
||
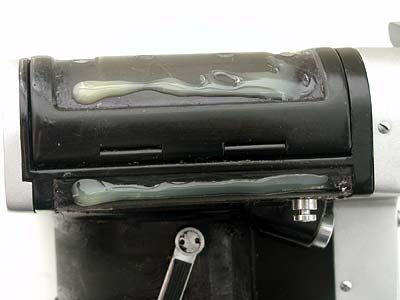
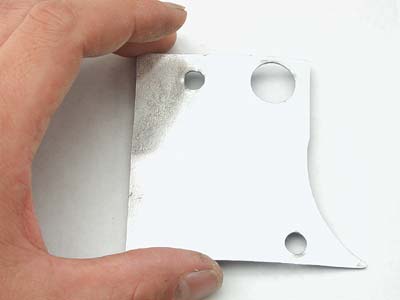
Apply bond widely and thinly with cotton swab and dry it well. |
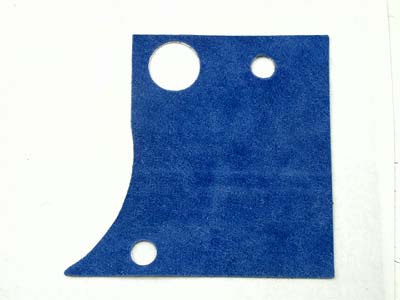
Prepare new covering. |
||
 |
 |
||
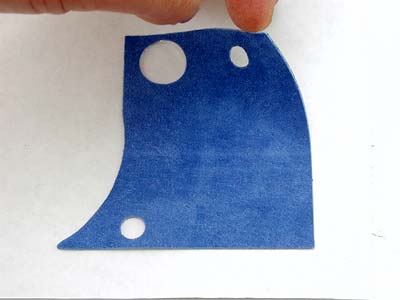
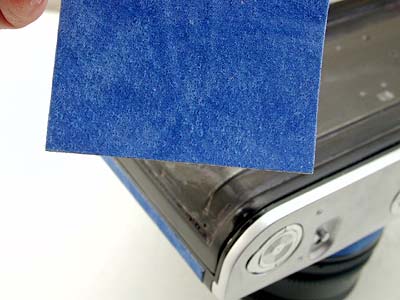
Remove the new covering from the base paper. |
Reverse it and place on the paper. |
||
 |
 |
||
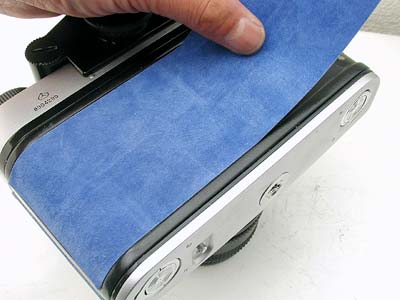
Rub alcohol on red part as the photo above. The alcohol delays adhesion and allows you time to adjust the coverings. |
Apply the covering on the camera body while the alcohol wet. |
||
 |
 |
||
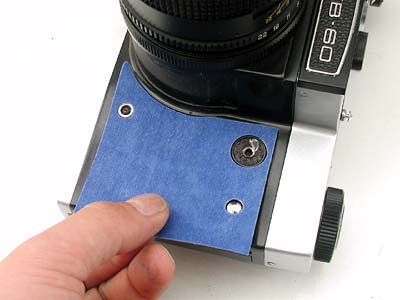
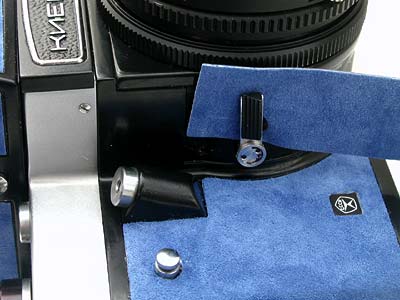
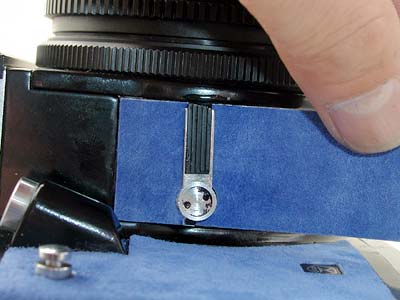
Place and adjust the strobe contact point, the battery cover and strap lug. |
Press the covering tight with your finger. |
||
 |
 |
||
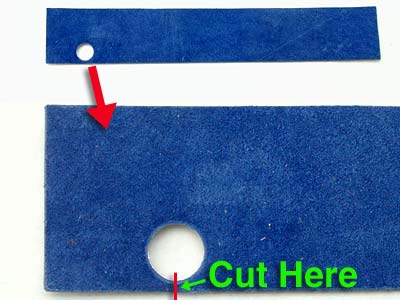
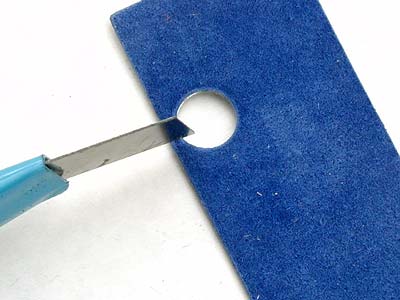
Let's go to the next part. Please prepare the covering for Lens mount. Cut the red line, it will be easier to apply. |
You can cut with knife or scissors. |
||
 |
 |
||
Reverse the covering and rub alcohol on tape side. |
While the alcohol wet, slide the covering into the backside of preview lever. |
||
 |
 |
||
Place the preview lever and apply the covering along the edge. |
Do the same process, just rub alcohol on tape side. |
||
 |
 |
||
apply covering along the edge. |
After you install all the coverings, please wait for a few hours for drying alcohol. |
||